4. Part II: Using Syntax
4.1. Using syntax to ... open and name a dataset
Task: Paste syntax from SPSS menus to a syntax file
 Task: Paste syntax from SPSS menus to a syntax file
- Click File > Open > Data …
- Navigate to and select the file “HLTH1025_2016.sav”
- Click the Paste button (just under the Open button) to the right hand side of the dialogue box.
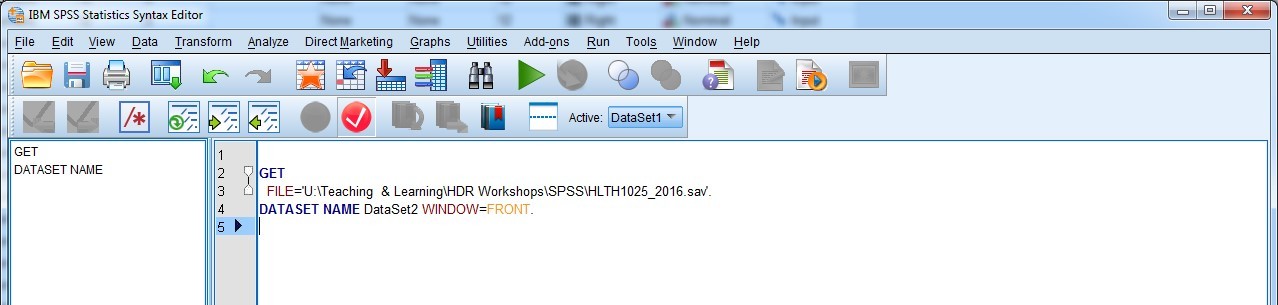
This should have done two things: 1) open a new syntax file; and 2) paste the syntax command to open the file you selected into the new syntax file. Amazing, isn’t it?! You should now have a syntax file that looks like this:
What we want to do, though, is to make sure we properly document what we have done, and save the file. This means that we can come back to it at any time in the future and know exactly what the syntax is doing, what it’s for, who wrote it, and when it was written. These are really useful bits of information to keep track of, especially if you or someone else goes back in and makes changes to the file. You can then record who has done what, and when it was done (and why!).
An important thing to know about SPSS syntax before we go any further:
- If you want to write a comment, or any sort of text that is NOT an SPSS command (telling SPSS to do something), then you need to preface your text with an asterisk (*). You also need to end your text with a full stop (.). When reading your syntax, SPSS will ignore any text within an asterisk and a full stop.
So let’s have a go at ‘commenting’ our new syntax file.
Task: Documenting using SPSS syntax files
- Save your syntax file in the same place you saved your datasets (the organised version!), with a descriptive name (I’ve called my syntax file “10 Introduction to SPSS workshop_data management”).
- Have a go at documenting what the file is for, who wrote it (that’s you), and today’s date. You can see how I’ve commented my file below:
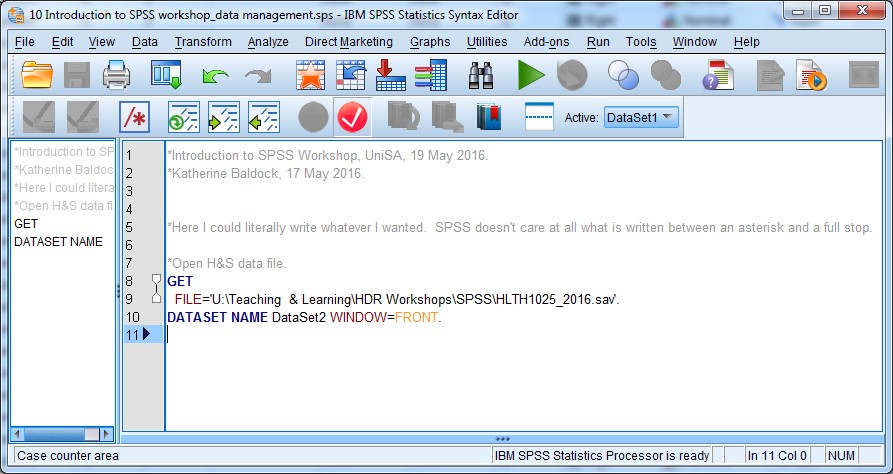
You may have noticed from the image above that SPSS colour codes its syntax – rather a neat feature I think. Commands (words that tell SPSS to do something) are in blue. Just for the record, it doesn’t matter if they’re written in all caps or not. Objects are in red, and criteria are in yellow. Text (like my comments) are in grey. We may come across some other colours as we go.
Another useful thing to do (particularly if you have multiple datasets open at once) is to label your dataset. See in the syntax above for the GET FILE procedure, there is a second line with another command DATASET NAME? This command allows us to label our dataset so we don’t mix it up with another one if we have lots open at once.
Let’s modify the dataset name so that instead of being called “DataSet 2” it’s called “HLTH2015_2016”, using the syntax as follows:
dataset name HLTH1025_2016.
Here’s what your syntax file might look like now:
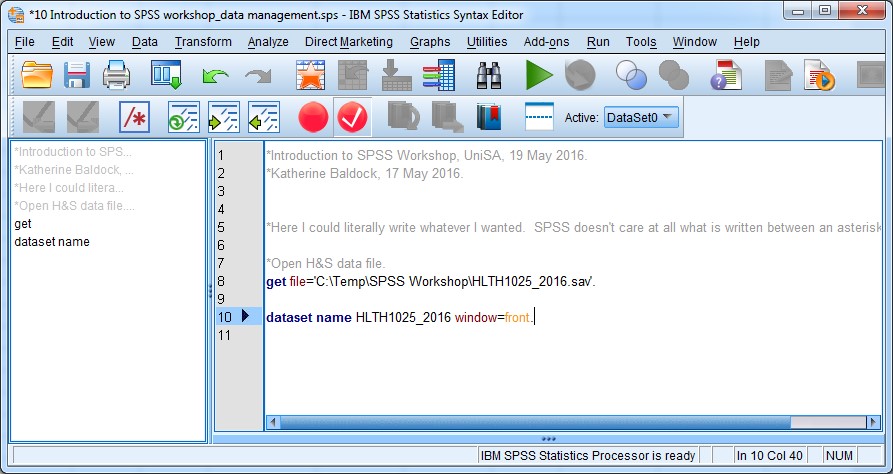
If you were wondering, the window=front code tells SPSS to make the dataset the top window (in front of everything else already open on your desktop). Notice also that I re-wrote the syntax commands in lowercase just to show you that it still works (!).
Task: Open an SPSS data file using syntax
- Save the dataset and syntax file you have open in SPSS (don’t worry about the Output file).
- Close SPSS (all files).
- Open Windows Explorer and navigate to the folder where you have saved your SPSS workshop files.
- Locate the syntax file you just created and saved, and open it by double clicking the file.
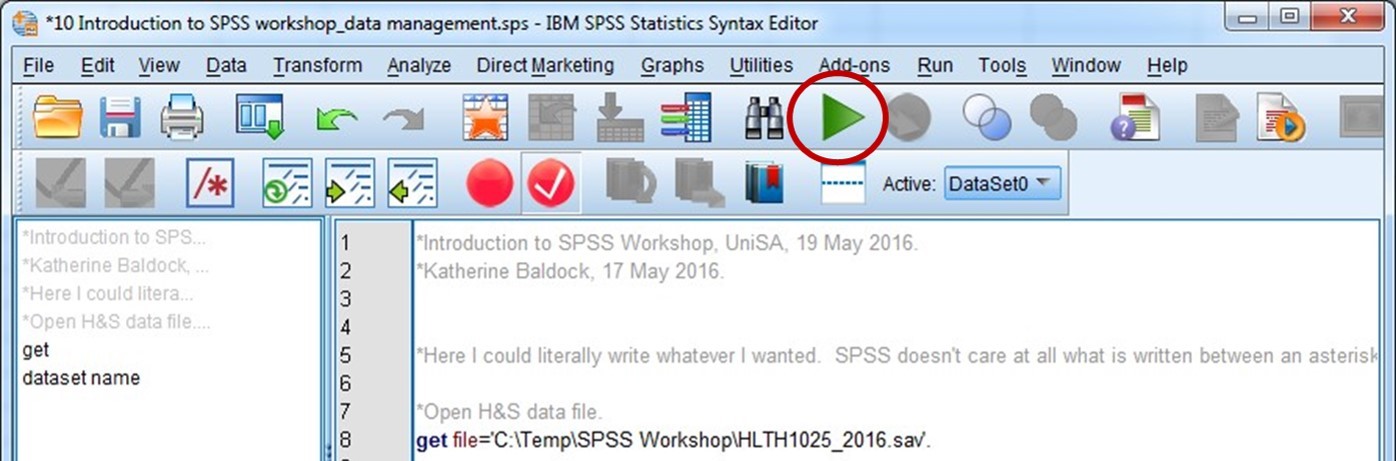
- Select all of the text in the syntax file (text and commands) and then click the “Run Selection” button on the menu bar:
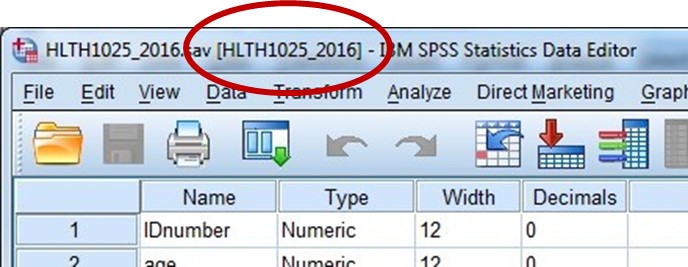
This should now open the Health and Society dataset, and label it as “HLTH1025_2016”. You’ll see the dataset name in the top right hand corner of the Data Editor window in square brackets:
Now that you know how to comment an SPSS syntax file, and can open and name a dataset using syntax, we’re going to also learn how to set a working directory (I’ll explain …) and save files using syntax.