Some of the resources on the website are in the form of playable interactive online presentations, which have been produced using the iSprings software plugin for PowerPoint.
These online presentations can be controlled by the student.
The students watch the presentation on 'players' which allow them to move forward or back through the slides, progress at their own speed, annotate or highlight individual slides, and search the text.
You can see an example embedded below, which discusses the creation of multiple choice questions. You can try working through this yourself.
If you find one of these resources on this website, and you would like to get your students to work through it, you can upload it to your own course website, and give your students the link.
To upload the presentation to your course website, following this process (you can also download these instructions if you would like to print them off and have them beside you as you work through the process) :
- Download the zip file from this website to your own computer
- Open your course website and Turn editing on
- Go to the section where you want the students to be able to find the presentation.
- Click on +Add an activity or resource.
- Scroll down until you see the button for File under the RESOURCES heading, select it, and click on Add at the bottom, as in the image below:

- Decide on a name and a description for the presentation, and drag the zip file into the upload area. (If your mouse won't drag it, click on the Add file button, and then find the zip file in your computer.) You will see the bar showing that your file is uploading.

- When the zip file is fuly uploaded, click on it. You will see a sub-editing box, as in the image below:

- Click on Unzip, and you will see all of the files in the zip file. Find the index.html file, as in the image below:

- Click on the index.html file, and you will see another sub-editing box, as in the image below. Click on Set Main file.
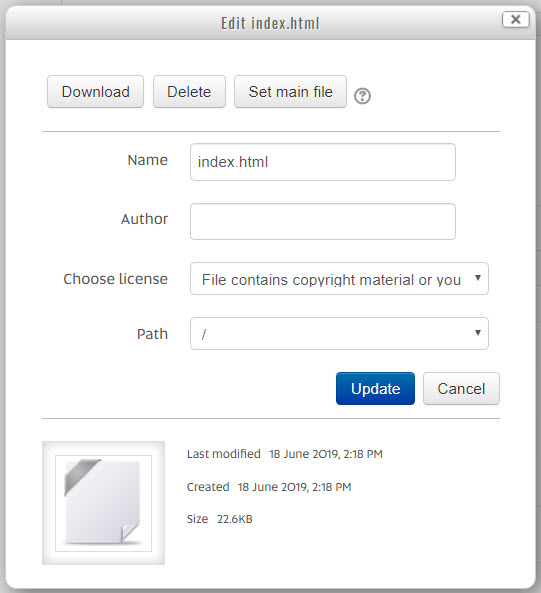
- The editing box will close, and you will be returned to the Adding a New File editing box. The index.html file should now be in bold.
- Now scroll down to the Display settings, and select Open, as in the image below:

- Finally, scroll all the way down, and click on Save and return to course.
- You will now see the link for the presentation on the course website. When the students click on that link, the presentation will open in the same browser window.
You can also embed the presentation, as we have done above, but it is a trickier process, and requires some help with the technical side. Please contact us if you would like to do this, and we will work through it with you.