Create a New Group
Process Overview
Placement Administrators and Placement Officers are able to create and update Group records, and Placement Administrators are able to correct Group records (when required).
Warning: Prior to creating a new Group record, you must first perform a thorough search of the existing Group records to ensure the required Group does not already exist in Medici. Only create a new Group record if you fail to find an existing record for the Group.
A Group is a logical grouping of like Organisations or Sites (each considered independently). Groups facilitate management and operational reporting (among other purposes) and Placement Blocks can be configured to allow students to submit Pre-Offer Site Exclusions based on Site Group(s) (if required).
Step by Step Instructions
Note: The following instructions assume information has not previously been configured for the Group. If the Group has previously been configured, and the existing information needs to be updated or corrected, please refer to the process instructions on the ‘Updating a Group Record’ or ‘Correcting a Group Record’ process pages.
Step 1: Create the Group and attach an Organisation
Question 1: Do all or most Organisation’s Sites need to be attached?
Step 2: Select the Fetch Sites button and then delete any Sites that are not required
Step 3: Individually attach the required Site(s) to the Group
Question 2: Do any further Organisations and Sites need to be attached to the Group?
Step 4: Attach the Organisation to the Group record
Step 5: Save the new Group record
|
Application: Medici Navigation: Student Placements®Placement Providers®Groups |
|
|
|
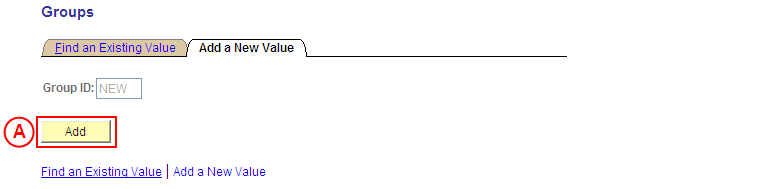
Warning: Prior to creating a new Group record, you must first perform a thorough search of the existing Group records to ensure the required Group does not already exist in Medici. Only create a new Group record if you fail to find an existing record for the Group. Select the Add a New Value tab. Result: The Groups: Add a New Value page is displayed. |
|
Select the Add button (or press Enter).
Result: The Groups page is displayed. |
|
|
|
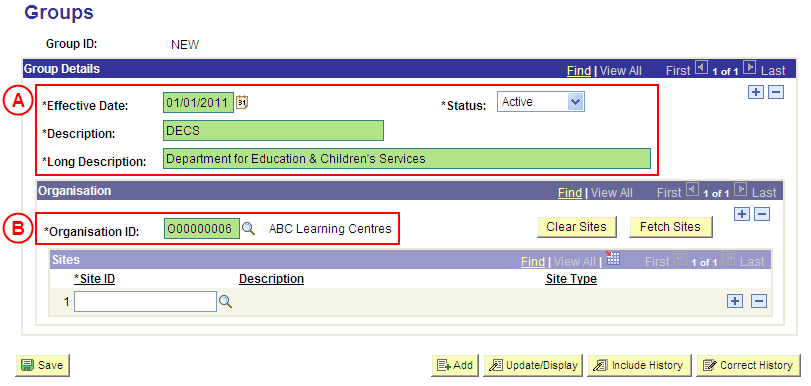
Group Details
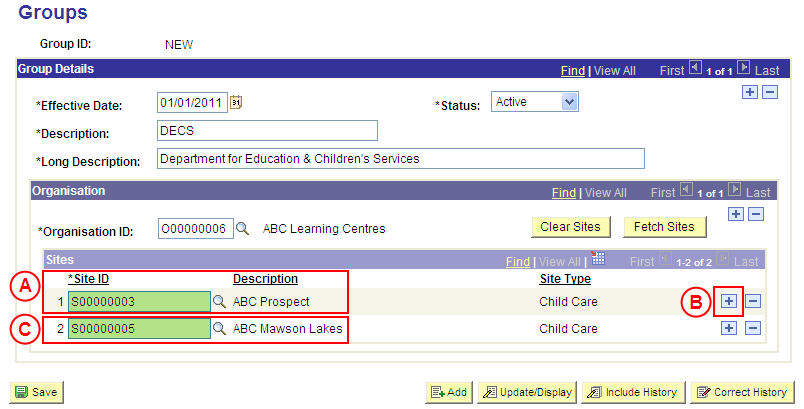
Effective Date: Type or select the [date the new Group is to be available]. Status: Select Active (if this value is not already displayed). Description: Type a [description of the new Group] (abbreviate if required). Long Description: Type a [full description of the new Group]. Organisation Organisation ID: Select the [Organisation to be attached to the Group]. |

|
Question 1: Do all or most of the Organisation’s Sites need to be attached? |
||
|
Question |
Yes |
No |
|
Do all or most of the Organisation’s Sites need to be attached to the Group? |
Go to step 2. |
Go to step 3. |
|
Explanation: If all or the majority of the Organisation Sites need to be attached to the Group, the quickest method is to use the Fetch Sites button and then delete any Sites that do not need to be attached to the Group (step 2). If a minority of the Organisation Sites need to be attached to the Group, the quickest method is to individually attach each of the required Sites to the Group (step 3). |
||
|
Step 2: Select the Fetch Sites button and then delete any Sites not required |
|
Application: Medici Navigation: The Groups page will already be displayed as a result of performing step 1 |
|
|
|
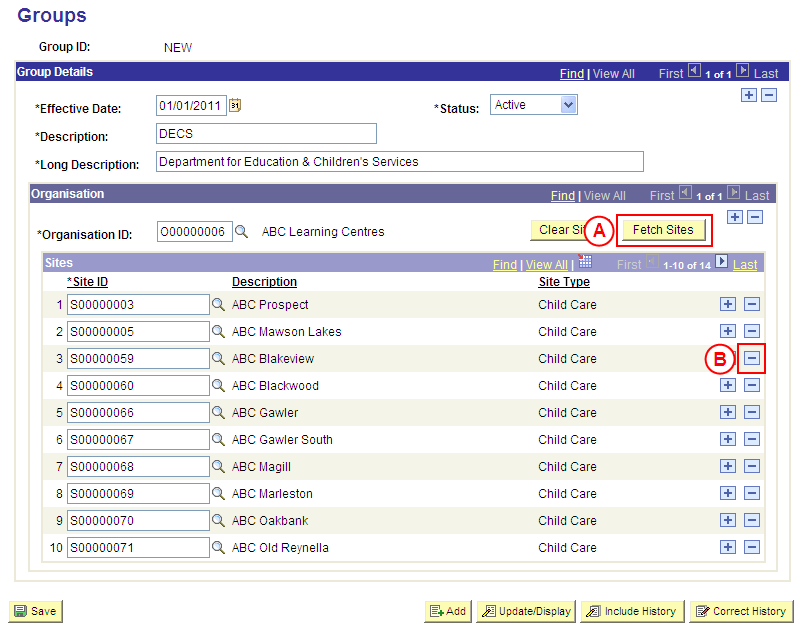
Organisation
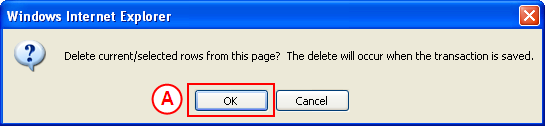
Select the Fetch Sites button to display all Sites attached to the selected Organisation. If one or more Sites need to be deleted from the Group: Sites If a Site needs to be deleted from the Group, in the Sites section, select the Delete Row button () adjacent to the Site record to be deleted. Result: A message is displayed requesting confirmation the selected row is to be deleted, and advises the deletion will occur when the transaction is saved. |
|
|
|
Select the OK button (or press Enter).
Result: The selected Site is deleted from the Group. |
|
Continue to delete all Sites that are not part of the new Group. |
|
Go to question 2. |
|
Question 2: Do any further Organisations or Sites need to be attached to the Group? |
||
|
Question |
Yes |
No |
|
Do any further Organisations or Sites need to be attached to the Group? |
Go to step 4. |
Go to step 5. |
|
Explanation: If further Organisations or Sites need to be attached to the Group, these Organisations and their applicable Sites must be attached before the new Group record is saved (step 4). If no further Organisations need to be attached to the Group, the new Group record can be saved (step 5). |
||
|
Step 4: Attach the Organisation to the Group record |
|
Application: Medici Navigation: The Groups page will already be displayed as a result of performing step 2 or 3 |
|
|
|
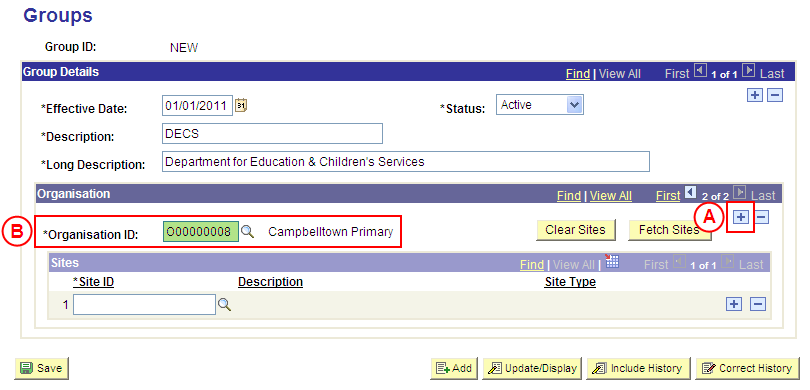
Organisation
In the Organisation section, select the Add a New Row button (). Organisation ID: Select the [Organisation to be attached to the Group]. |
|
Go to question 1. |
|
Application: Medici Navigation: The Groups page will already be displayed as a result of performing step 3 or 4 |
|
|
|
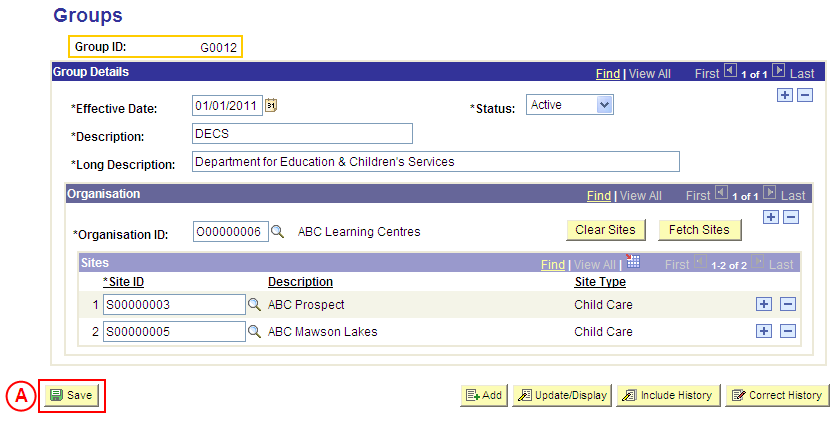
Select the Save button (or press Enter).
Result: The new Group is created in Medici and will be available from the entered Effective Date. The Group ID for the new Group is displayed at the top of the Medici page. |